Fixed Wheel Bike Building Blog – by Mark Brownless
October / November 2022
So, after the club 10 time trials and open events came to an end, and as Autumn started to turn the countryside various shades of orange and brown, I came up with the idea of building myself a bike, from scratch. I thought it was probably a crazy idea originally, but the more I thought about it, and with a little research thought it may JUST be do-able?
In the middle of all of this, my son and I joined Darlington Cycling Club. I have got to know a few of the club members over the last couple of years and I told Mike Drake, that I was building a bike.
A few conversations later, he has asked me if I would consider doing a blog, as it may be of interest to some of the club members. So here we are..
First of all.. I don’t know how this will end, as it is ongoing. I may be left with a pile of rusty scrap tubing at the end of this, fit only for a coat of yellow paint to stand in the garden for the next time the Tour is in town! or with a little bit of luck , I may just end up with a rideable bike.
Either way, I hope it might be of interest to some of you or if nothing else, give some insight, into the ramblings of a crazy fellow cyclist.
Originally, I was going to build myself a low-slung cruiser bike first, followed by a Fixed Wheel Road Bike, but in reality the discovery of some frame tubing on ebay has led me to starting the fixed wheel bike first. I’m not a welder, but I do weld things for fun in my spare time, as well as riding the bike of course. I have made gates, benches etc. I was a joiner by trade, for many years, (which I think has given me good understanding of angles etc)
The original fixed wheel bike concept drawing.
Pictures below, but not necessarily in the right order.
So basically, I purchased an old, unused set of Reynolds 653 tubing from a guy in the Netherlands.
Fast forward a week and the tubing arrived.
A little reading up in the mean-time and I discovered my first stumbling block. A 753 frameset consists of 531 tubing for the main triangle (TIG Weldable) 👍🏻
But also 753 Tubing for the rear stays (Not weldable, as it is heat treated tube! It can however be brazed with silver solder!)
Note to self.. 🧐
Brazing with silver solder needs careful implementation due to fumes produced during the process, so I need to be in a really well vented area (probably outside) and wear suitable mask.
Once I had the tube, I needed to buy a bottom bracket shell, handlebars, brake levers, crankset etc..
My next job was to draw a 1:1 lifesize scale drawing of the bike. (I took some measurements and a angles from my other bikes and tweaked ever so slightly)
Now the plan was drawn, I was able to start fitting the tubing together, and cutting the mitres.
I want the mitres as close to perfect as possible, to give the joints natural strength before the ever see a welder, or a gas torch. Meanwhile keeping everything looking as true, square and parallel as possible.
Dry assembly over 1:1 plan
Pictures below, but not necessarily in the right order.
Part way through the process I also managed to source some decorative lugs, which will also add to the strength of the joints, and hopefully give the finished build a little in the way of character.
Sometimes a little help is needed.
Pictures below, but not necessarily in the right order, not dog on the drawing
Move forward a few days again and I now have what looks like the the makings of a bike frame sitting on top of my hand drawn plan.
Pictures below, but not necessarily in the right order.
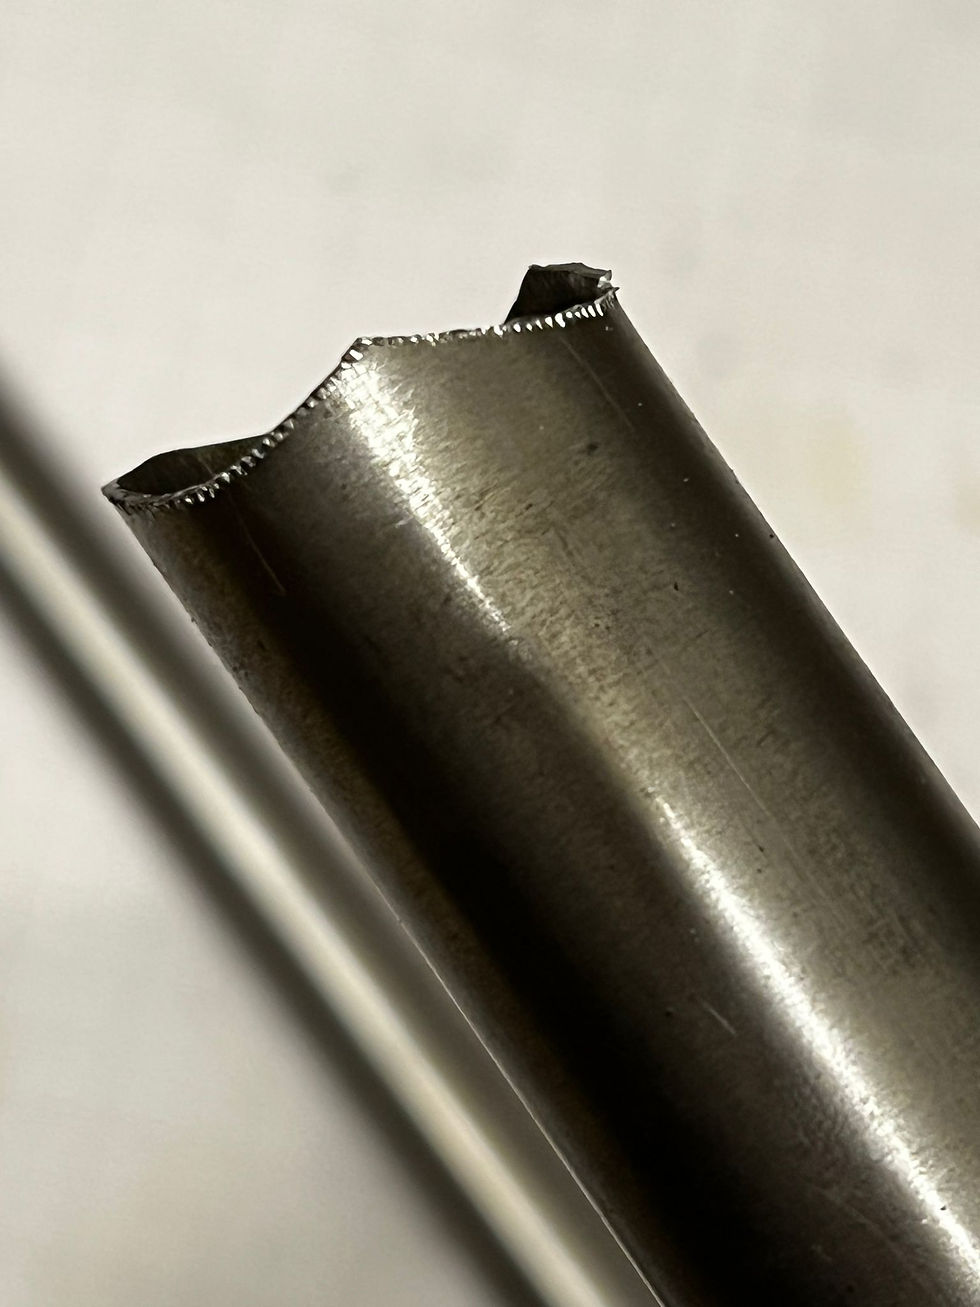
Rough Cutting of Mitres, with Tin Snips, prior to hand filing – bottom bracket shell
Pictures below, but not necessarily in the right order.
The photo’s show some of the processes taking place, including hand cutting the mitres, with tin snips, which were then filed and trimmed until they looked as near as possible to closing all gaps against the receiving tubes, bottom bracket etc.
Lugs, dry assembled over close fitting mitres.
Pictures below, but not necessarily in the right order.
In future blogs, I hope to describe how the start of brazing and welding the frame has gone, (making a jig to build it? Or not?) and further processes that I will be undertaking, including fitting components, test riding, painting (hopefully not yellow) etc., and ultimately, making my own head badge?
Safe riding until next time!
🚲


Very interesting !!! As I do not have a welder, thats out. But other things are O.K. Spraying a frame, find a car sprayer, cheaper ( mine cost £50) and a better finish. Building, quite straightforward, building a fixed one, use 3/32 sprocket, chainwheel, but an 1/8th. chain, why 3/32 are designed to fall off !! (gears !!) Wheels I`ve built a few wheels. the secret is patience, lie a wheel in front of you and copy it, also measure all of the spokes, when truing up spokes true up all of them at the same time. If you don`t have a wheel jig, use the rear end of your frame. Happy Building Miff